You already come to this website for fishing tips and a few other topics, but I’m telling you, you’ve got to get into hunting. Hunting is an integral part of the PNW harvest lifestyle. You need red meat in your freezer, and I’m not just talking about coho salmon here folks!
Hunting is practically a civic responsibility, vital for conservation and an important part of connecting you to the forests and mountains not just the rivers and seas!
But how does one get started? I’ve spent the last 5 years learning how to effectively big game hunt and I’m hoping this blog article gets you well on your way towards getting started. Highlighting easy approaches for beginners, tips and techniques I’ve learned and of course all the gear you will need.
Before going further, you should know that I’m an Amazon affiliate, which means when you click on my links and buy something I earn a small commission and you pay the same price regardless. This can be a great way to support the PNWBestLife brand which hopefully you get significant value from in your harvest endeavors of fishing, hunting and other related activities.
There’s so much that could be written on the topic of getting started in big game hunting, so I will break it up into the kind of bite-size chunks I’m hoping will make it easier for you to consume and digest. The last thing I want to do is overwhelm you with what can easily be an overwhelming topic.
My goal here is to take topics that are overwhelming on the surface and make them accessible to anyone. Historically, the only way someone got into hunting is by having a friend or family member “show them the ropes”.
We live in a society where we don’t pass down this sacred knowledge of hunting or salmon fishing as effectively anymore, and I’m hoping my skill of making the complex more simple can function in a similar fashion.
Why you should hunt big game?
All of our wildlife exists within ecosystems. Ecosystems require balance to function and be healthy. Remove the balance and ecosystems become damaged and populations of certain wildlife species suffer as a result.
I hate to tell you this, but merely by existing as a human and consuming resources, you impact wildlife ecosystems negatively.
The land you live on, the car you drive, the food you eat, and the place you work all have resulted in re-shaping ecosystems and throwing them out of balance.
Why is that?
Well, before humans, there were these creatures called predators that functioned to keep populations of deer and elk in check. We’re talking bears, wolves, mountain lions, etc.
Humans and predators simply don’t mix.
I get people’s desire to see predator populations grow, to restore grizzly bears to the North Cascades or to keep people from hunting black bears, or to restore wolf packs to particular regions. These are all incredibly divisive topics within the groups most passionate about wildlife.
One thing that cannot be argued is that predators and humans function well together in close quarters.
But, humans and deer function great! If you live in a suburban or rural area, there’s a good chance you see deer in your neighborhood or yard throughout the year.
The problem is that when deer populations get thrown out of whack there are not enough predators to keep them in check, because of humans.
We have a responsibility to function as replacement predators to keep these populations healthy and that’s how successful wildlife management has been performed for over a century. The US system is a model for the world and prior to it, some of these species were commercially harvested nearly to extinction.
I could go on and on, on this topic, but you get the idea.
There’s also a connection to the food you eat and many other factors I don’t have time or space in this post to include. Let’s keep moving.
How do I get started hunting deer or elk?
Ok, great. You want to hunt big game, where does one start on this journey?
First of all, I would point you in the direction of hunting deer first, simply because your odds are much better. Washington is one of the worst western states for elk hunting success. All big game hunting can involve a significant investment of time and money without initial success, so you might as well start with the easiest of the two species: Deer.
Second, and this is important. Take the Hunter’s Education class!
If you didn’t grow up around firearms, or you need to dip your toe in the water on hunting before committing, or you just want to go all in. Taking that class is not only the best place to start, it’s a requirement in most states to get started with big game hunting.
They cover firearm safety, staying safe in the woods / mountains, wildlife conservation topics, safe hunting practices and so many others. There’s no way for me to cover these basic topics better than that class, so I won’t even try.
The rest of this article will assume you have taken or will take the class and are now looking for the next steps.
How this article will guide you through the big game hunting learning journey
I’m going to describe this in terms of levels. Each level will have certain skills to work on, milestones to achieve and gear associated with it that you should have or purchase. And each level would ideally be completed before progressing on.
The goal is to get you to step through this in a methodical way, that will encourage your progression as you go.
You could combine all of these levels together and just go for it, but they are broken up to allow you to work your way through it step-by-step.
Also, the levels aren’t based on shooting anything, but more of the increasing difficulty of executing the process that leads to a successful harvest.
If you’ve got a friend or family member who’s going to take you to their remote hunting property and help you shoot your first big game animal, that’s fantastic! But, you probably won’t get as much from this article, though you may save your hunting buddy some time by knowing ahead of time the gear you will need and the right way to do certain things.
One last disclaimer on the topic before we dive in. I’m not a big game hunting expert. I am a successful newbie who knows how to explain certain things in a manner that hopefully helps you. I’ve done lots of certain types of hunting already and only a little or none of the other types.
Let’s go to level 1!
Level 1 big game hunting for deer or elk
The milestones to complete level 1:
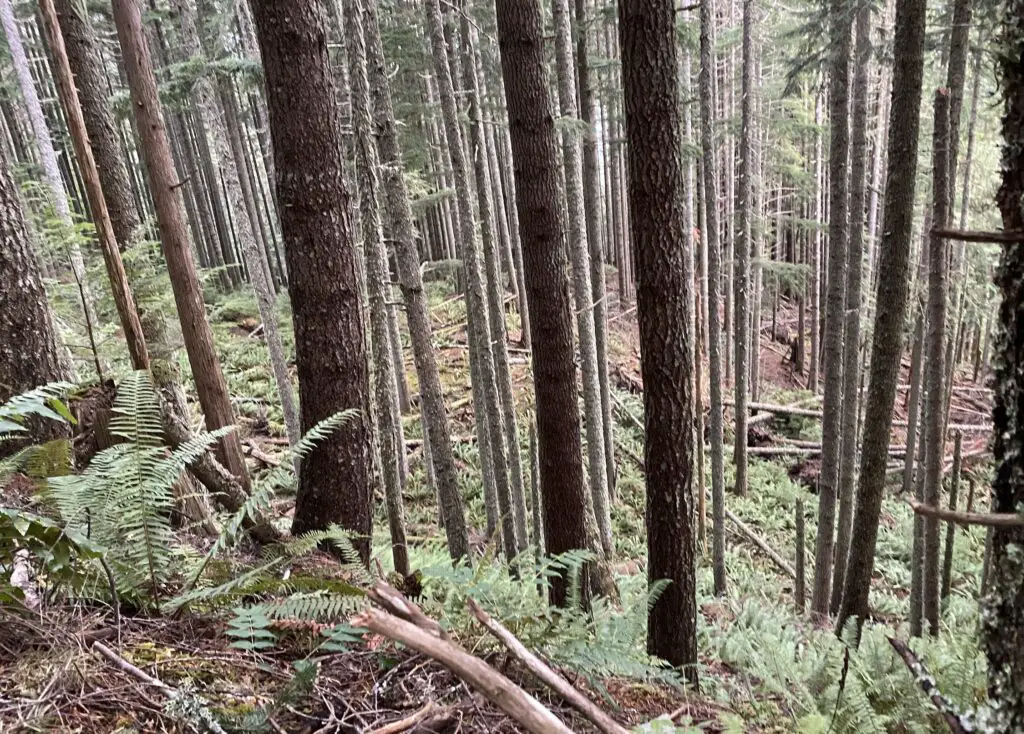
- Complete an off trail hike of at least several miles in public land or wherever you have legal access.
- Complete a Hunter’s education class
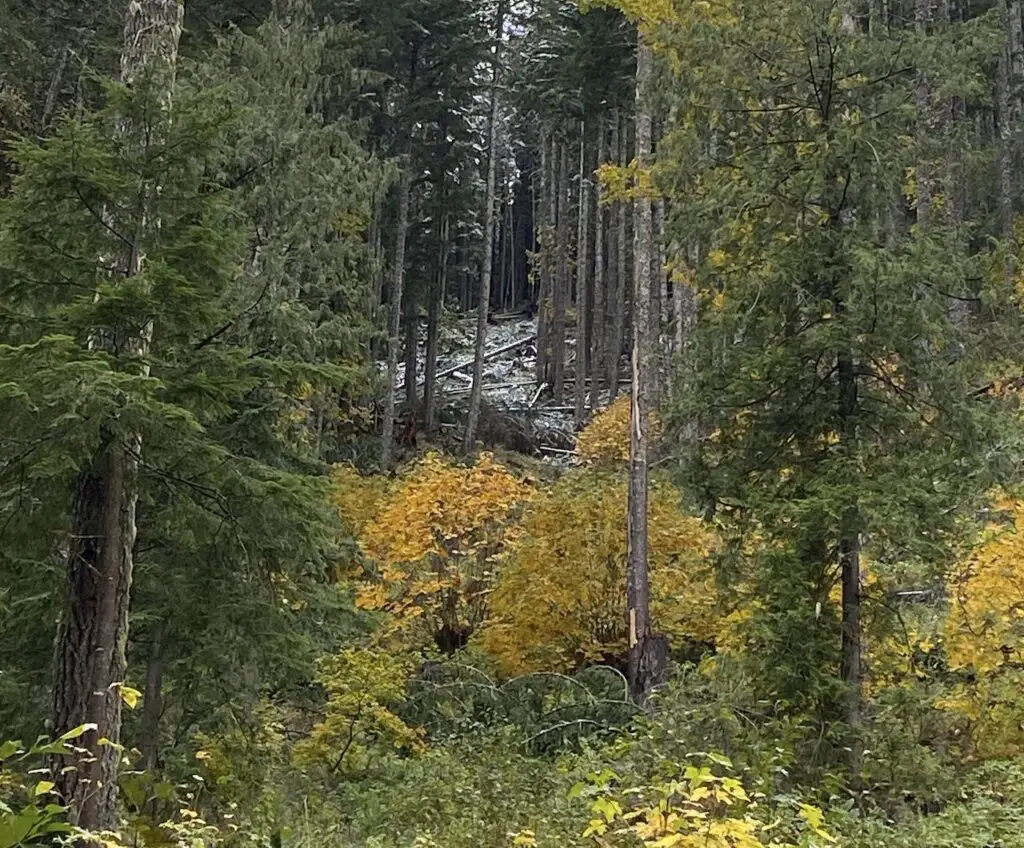
Goal: The goal of level 1 is just to give you a taste of what public land big game hunting is all about. To convince yourself that you can do it! And to practice basic woods safety.
I’ve heard accounts from some big game hunters that they are literally afraid to go into the woods by themselves…I’m not trying to shame anyone here, but I’m trying to say that there’s so much of the experience and opportunity you miss out on, if you don’t get comfortable in the woods.
There’s some basic information and gear you need to feel good about venturing off the beaten path. I’m going to break this down by asking a series of questions you may have before committing to the plan:
How do you know the place you’re hiking or hunting on is public land that you have access to?
It’s honestly a shame that so many outdoor recreational folks aren’t aware of just how much land they “own” and have legal use rights for. Public land could be national forest, state land, BLM land, or county land. City land is typically not huntable, but you get the idea.
I highly recommend downloading an app to your favorite device that allows you to figure this out on the fly. Huntwise is one such app, but I’ve been using OnX Hunt app for several years successfully, and it’s one of the most basic requirements in my opinion for getting out into the woods.
These apps show you the terrain and property boundaries along with your GPS location. You can plan a hunt, set waypoints and use it while in the woods in offline mode, figuring out your next move.
How do you avoid getting lost in the woods?
I can’t understate how important and serious this question is. You hear news stories of people getting lost, including hunters. Many survival scenarios start with a serious lack of appreciation for how to avoid getting lost. Much terrain and forest can look similar. Sometimes, there’s only one “good” way back to the place you started from.
The first most basic thing you can do to prevent being lost is study your route and the surrounding terrain with the aforementioned apps.
Make a plan ahead of time and only deviate from the plan in the ways you’ve already prepared for. Don’t assume you can just wing it and be fine.
Second, and this is really important, you should really have a navigational aide with you. My brother hikes all over the state, his sense of direction is questionable at best and he doesn’t use a compass, but he does have a GPS device and he wouldn’t ever leave on a hike without it.
This Garmin GPS Map 65 is a solid option as a first GPS Map device that will help you from getting lost on the trail.
Know that these devices can fail. They can run out of battery, not be able to contact satellites, etc. You should also have a backup plan which the below device can be part of:
Now, the next device might be overkill, and in particular for your first hike off the beaten path, but for the most safety conscious person, you should be aware of it.
I originally purchased this ACR ResQLink View PLB GPS for offshore fishing, but I now pack it with me if I’m going to hunt the backcountry. In an extreme scenario, I want to know I can call for help and expect to receive it.
And of course, there is the standard, handy dandy compass.
If you expect to just wander in the woods with only a compass and you didn’t take the time to learn how to use it…please don’t do that. Using a compass requires training, which may even be covered in your hunters safety class you already signed up for, right? Right?!?
Lastly, it’s a really good idea to leave details of your trip and plan with an emergency contact. Where you went, your route, and what time you could be expected back. This is particularly important if you didn’t buy the PLB.
If you went missing, how would anyone know where to start looking for you?
What if you get attacked by an animal while in the woods?
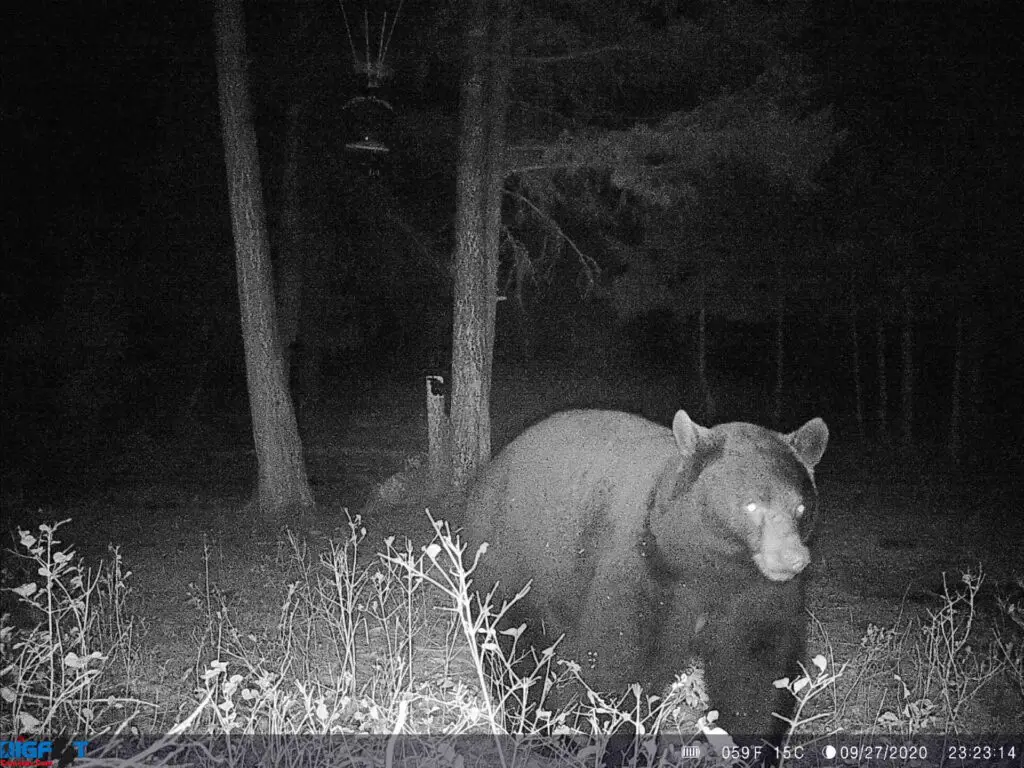
This is one of the classic fears and it’s probably far too overdramatized for the actual frequency of encounters with dangerous wildlife while hiking or hunting.
In most scenarios, wildlife does NOT want to encounter you in the woods, perhaps even less than you want to encounter them. What you do depends on what predators live in your area, but a great place to start is having bear spray that’s been purchased in the last 3 years.
That’s right, if your bear spray is older than 3 years, get rid of it! You want potent, good recent stuff as it just may save your life.
When you buy it, make sure you test it and are comfortable with pulling it out at a moment’s notice. Just when you do test it…make sure you do so in a safe setting with the wind blowing away from you…
You could bring a firearm for safety, but I’m assuming you may not have one yet, or may not be comfortable with one. I think far more people think a sidearm is their best defense against a predator than have actually practiced precision shooting in a quick draw scenario.
The nice thing about bear spray is you don’t need to be very accurate and the stuff is legit nasty.
When it comes to protection from critters, I feel great about bear spray as my only deterrent in most situations in the PNW. Now when it comes to Grizzly Bears, I think I want the sidearm as well, or I simply won’t hunt areas that have grizzly’s.
Even with a firearm, I might try bear spray first to stop a charging grizzly bear. You may not have much time and not every firearm, even if fired accurately will stop a charging bear.
What else should I bring with me on the off-trail hiking trip?

You’re going to want a few things from a safety and just creature comfort standpoint. Let’s talk a few safety items first:
Emergency rations. You should have some food and water, beyond what you think you will need for the trip. A multitude of dynamics could require you to need that additional water bottle or to munch on that protein bar. It doesn’t take much weight, so it’s worth having around in case you need it.
When you consider hydration, don’t just bring water, you need electrolytes. You could just bring some Gatorade or something, but I really like these LMNT Electrolyte Drink Mix packets as something I can add to my water that doesn’t contain sugar, but still tastes awesome.
There’s a variety of flavors, but I like chocolate the best.
You may want to include a first aid kit.
You may still want to decide what actually makes sense to take with you, otherwise it’s a lot of unnecessary weight, and weight management is definitely a thing here as you add different options to your hunting experience.
You could also just get band-aids and Neosporin and call it a day.
You will want an emergency blanket.
Remember, we aren’t just trying to over plan for a hike, we are trying to simulate the real scenarios you should prep for when hunting, before actually going all in.
You will want a headlamp. Even if you plan your hike for the daytime, which makes sense for your first one, if for some reason you cannot get back before dark, you will want a source of light. I like this headlamp in particular
Cheap, rechargeable, and offers both red/green and white light. Red/green is useful for hunting as it illuminates your path in the dark, but animals don’t see it.
Lastly, where should I put all this extra crap I want to take with me? I thought you would never ask!

The above hunting backpack is what I have and I love it. It’s a very easy day pack, you can put a lot of stuff in it. It’s quiet, dry and comfortable. You don’t want to hike very long with some kind of shoulder strap pack that will become very uncomfortable quickly with any amount of weight in it.
What should I wear?
The important question! You want to convey a fashion sense to the woodland inhabitants. In all seriousness though, this is a big one. Some of it is weather dependent, and I will get into that below, but let’s cover the easy obvious stuff first.
You will want a pair of boots. Going off trails without ankle support could quite literally be a suicide mission. Lots of different boots will work as long as they are meant for the outdoors vs the shopping mall (thinking of you Chris!).
The particular boots may also be based on weather and season, but let me explain what I do.
For starters, I’ve converted my everyday shoe from sneakers to hiking boots. You just don’t know when a hike could break out, or you see some mushrooms on the side of a forest road, or maybe a critter. I can’t afford to not have ankle support whether I planned for it or not. I bought these Columbia Newton Ridge Plus II Waterproof Hiking Boots I bought and I’m quite happy with them.
Now, when it comes to serious hunting I went with these Danner Vital 8″ Waterproof Hunting Boots. But definitely shop around and look at reviews to determine what’s right for you.
You will need a performance boot sock that will stay dry as well.
The forests of the PNW are often quite wet and cold during hunting seasons. Even if it’s not raining, expect a walk in some less open parts of the wood to be the equivalent of taking a shower (bath?). There’s that much water on everything!
I will cover hunting jackets, pants, etc later on (level 2), as well as the serious cold weather gear. There are a lot of ways to stay warm and dry that aren’t necessarily the best for hunting, but this is about a hike in the woods right now.
Here are a few guidelines to plan for the hike:
- Always bring an outer shell for rain / wind protection. Do not go with a jacket / outer shell that says “water resistant”, unless you are sure it won’t rain and it hasn’t rained in a month…even then, just say no to this. Water proof is the only way to go. Gore-tex is what you want to be both waterproof and breathable, but for now being waterproof is the most important factor. If you are going to buy something vs already having one, skip to level 2 to read about proper hunting gore-tex.
- Only wear synthetics / moisture wicking material next to your skin. You can wear cotton, as long as it’s sandwiched between moisture wicking synthetics and a waterproof outer layer.
- Wear layers, and plan on stripping a layer and tossing it in your handy hunting pack if things are too warm. Successful planning is having an extra layer, not barely enough.
- Consider appropriate gloves and a hat. More on this in level 2.
Another thing to consider, depending on the time of year is wearing hunter orange. You may need this depending on your hunting season anyway. But if you plan to be in the woods in the fall, on public land, where people potentially hunt, even if you are not hunting, it’s wise to slap on an orange hat and orange vest.
What benefit is there to accomplishing level 1?
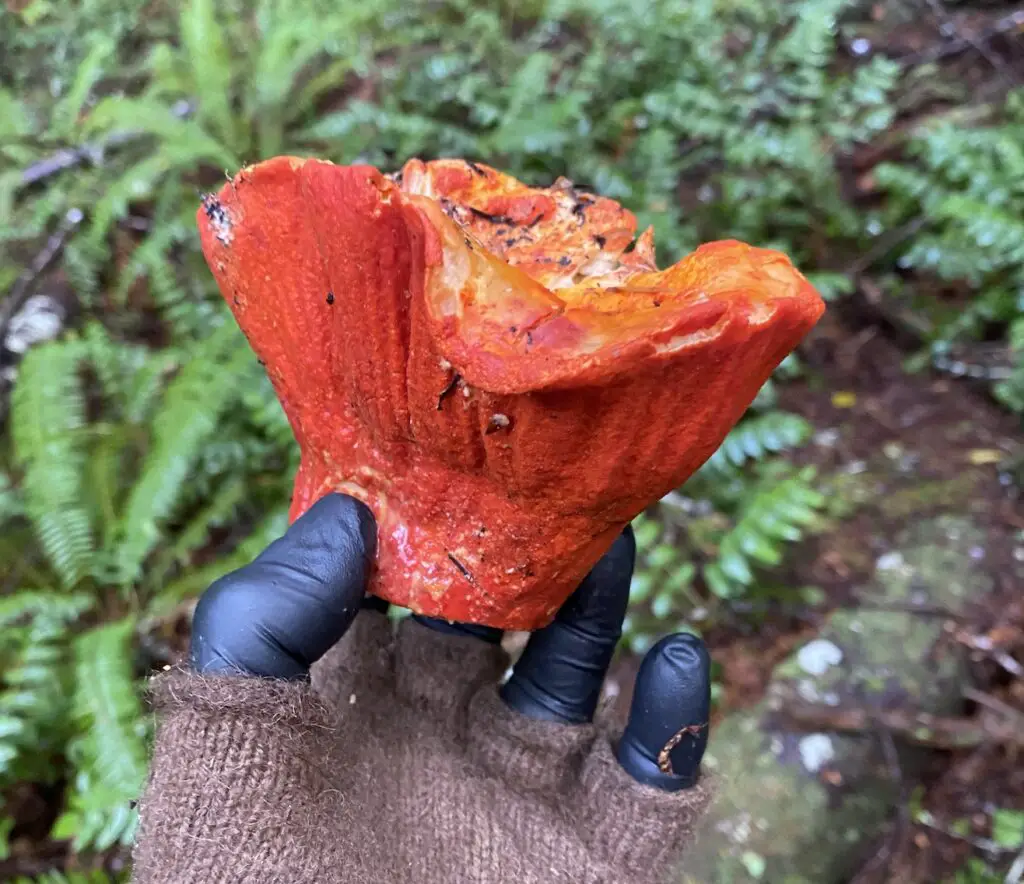
For starters, you should now be equipped and comfortable hiking just about anywhere off-trail at least a few miles. You can locate public land areas to hike and explore. And from a harvest recreation perspective, you could now take on mushroom foraging and more “extreme” berry picking (is that a thing?). Both are out of scope here, but really fun harvest recreation activities.
Additionally, completing level 1 should help you locate places to fish and give you confidence to explore.
Level 2 big game hunting for deer or elk
The milestones to complete level 2:
- Encounter deer or elk in the woods, on public land in a scenario where you could make an ethical shot.
- Pick your hunting weapon
- Buy a hunting license
Now that we are accomplished people of the woods, we need to plan to be there for longer in a comfortable way and to learn to move slowly and control our scent.
I should add, there are a variety of ways to hunt that all involve different approaches that are going to be more or less appropriate based on weapon type. I’m going to try and extend the level 1 hiking through the woods idea to level 2 being about stalking through the woods.
The milestone goal is accomplished by spotting an animal and getting to an ethical shooting range.
I fully realize that spot and stalk or stand hunting are perfectly good alternatives. However:
- Stand / blind hunting is less likely in public land, but far from impossible.
- Spot and stalk still requires stalking – though the idea is we’ve already spotted the animal and are making our approach.
I’m talking primarily about stalk and spot for level 2, which if you gear up for and learn, will offer valuable skills that apply to spot and stalk and stand/blind hunting.
Spot and stalk typically involves driving the roads and locating an animal and than stalking your way into an ethical shooting range before taking a shot.
Picking the hunting weapon / season
Picking our weapon is a big deal and must be matched to a number of factors about us, our lifestyle and where we live / what are we going after in terms of species of deer.
All of the PNW states are slightly different, but for Washington State, there are three choices to make:
- Archery – primarily with compound bows (there are no bonus points for recurve) and cross bows are not allowed during archery season, but you can use them in Modern firearm
- Modern Firearm – this is the everything else category of legal weapons. Rifle is the primary choice there though. I won’t get into rifle selection, but I bought a 30-06 to do just about whatever I wanted in this season. There are other choices, but I won’t get into that here.
- Muzzleloader – There are specific guidelines for what qualifies, and you can’t use scopes on your muzzleloader in WA State.
The most popular weapon season by far is modern firearm. So if finding a public land hunting experience with solitude is important to you, this might not be your favorite choice. Not that it’s impossible though. I’ve had several days of rifle hunting by myself, but in general, on average you will encounter more fellow hunters during this season.
Typically, this is during the last 2 weeks of October, and most GMU’s (Game Management Units) where you hunt modern firearm require you to only shoot a buck and sometimes only a more mature buck.
The rut (mating season) tends to be in late October and into late November, so the best time to see a buck is usually right at the end of the season, when they start to throw caution to the wind to chase does.
The nice thing about rifle hunting though is it’s a pretty easy weapon to pick up and shoot. You do have to practice still. Breathing and trigger pull is a very important aspect to making an ethical shot.
Archery is the 2nd most popular, and sometimes I think it’s the fly fishing of the hunting world in that there’s a romanticized ideal about archery. The reality is there are lots of other folks who do it and it’s a lot harder to be successful than what some folks think.
Part of the challenge is you have to get legitimately closer to an animal. Intimately close. Sure, some folks will brag they can hit the kill zone sized targets at 60-70 yards, but the reality is you need to be more in that 30-50 yard range to make most ethical shots.
Why do I keep referring to the idea of an ethical shot?
Picture this: You are on your first hunt, you spot a legal-to-shoot animal, everything has lined up perfectly. You are trying to get close enough to take your shot. The animal looks right at you. You freeze. It goes back to grazing. In a moment of panic that you might lose the animal if you get any closer, you decide to take a shot from where you are. You miss and hit the animal in a non-vital area.
You go down to the area and you find the blood trail. You follow it for 2 miles before you lose it. Later on in the season you find the animal expired at the bottom of a creek bed, the meat not suitable for harvest and you know it’s the one you shot.
Was that an ethical shot to take? My guess, is you will never do it again. The reality is everyone’s going to wound and not recover an animal at some point, but we don’t want it to be because we made a poor choice. If it’s just about the meat, going to Costco is far cheaper.
So, whatever we choose, we need to be committed to being a “good shot” with it and make good decisions, which might mean getting much closer to an animal. And that takes practice. It’s possible though. I’ve got one friend who archery hunts deer using the spot and stalk method, and he can get close enough to almost pet the deer.
So going the archery route is a commitment to hunting disciplines that take a good amount of time.
One of the huge benefits of archery though is the season is usually the longest, and often offers both an early and late season. It’s the first season of the hunting year and it often allows you to harvest does depending on the GMU, which are encountered far more often than bucks.
Finally, muzzleloader is kind of in-between the two methods. It’s the least popular method, the least fun to practice shooting and sometimes has the shortest season. There are sometimes late muzzleloader options and there are more opportunities to shoot any deer or almost any elk compared to modern firearm.
I will admit, muzzleloader is my favorite choice, because I like hunting without being around a lot of other hunters, and I find the inconveniences of muzzy hunting to be easy to deal with.
You do have to get closer with a muzzleloader due to not being able to use a scope. I think 70 yards is probably the furthest shot I will attempt. Yes, it’s possible to shoot 100 or 200, but I would question whether it’s ethical depending on the situation.
Buying a hunting license
Ideally, you are completing level 1 in the spring / early summer and level 2 in the summer time well before fall. Obviously, if you stretch it out over a year you can do it all whenever. When you do buy that license, you will typically have to declare weapon type as that determines the season.
Very important: Read the entire regulations pamphlet for the species you are going to hunt. Particularly definitions and restrictions, especially if you are new. Figuring out your GMU specific stuff is important, but only takes a few minutes. The definitions throughout the document are very important to know and are referred to often. Ignorance is not an excuse.
How to get close to a big game animal without being busted
Getting close can be accomplished in a few different ways, depending on your weapon type and hunting approach. Perhaps you are hunting modern rifle for mule deer, “getting close” could be 200 yards. Or maybe, you are hunting archery for black tail and you need to stalk in heavy cover to get within 30 yards.
While there are certainly some exceptions, I’m going to advocate you dress and prepare for success in terms of getting in close.
Let’s make this simple: You need to be comfortable in any weather condition, move quietly through the terrain, constantly scan what’s ahead of you with binoculars and manage your scent.
You will want to invest in quiet, gore-tex, camo as your outer shell. Both pants and jacket.
There are many options, but below is what I use:


Pick a big enough size to wear layers of warm clothes underneath.
The stalk technique:
The way you bust a deer or elk typically happens like this: You are making too much noise and the animal hears you and directs its eyes and ears in the direction of the noise. This movement of the animals head in your direction is often hidden by brush / cover such that you will not notice it. Once the animal sees your movement while making noise, you’re busted and that deer or elk is taking off and not stopping, sometimes even making noise to warn other animals of something being off.
The other way the bust happens is the animal is caught completely off guard by your noise and immediately busts and runs about 30-50 yards away, but than stops and looks back at your direction. This may result in a shot opportunity if you’re ready.
If you notice the head pop up and look at you, you need to freeze all movement. Deer and elk often cannot see you if you are not moving. You also don’t want to look directly at them. Look away slightly and watch from the corner of your eye. Once the head drops down or looks away, you can move again.
When you are moving through the woods and aren’t aware of any animals within your proximity, you just need to move very very slowly. Taking care on each step placement to minimize noise and movement. Stop every few steps and glass with a good pair of binoculars.
You want to look at stuff through your binoculars that’s even 30-50 yards from you, as deer / elk will often be so well camouflaged that the naked eye cannot make them out without the aide of binoculars.
If you glass at obvious stuff in front of you, where it doesn’t look like deer or elk are present, you have a chance to see them before they see you. I remember the first time I picked up a big game animal through my binoculars after scanning an area with the naked eye and not seeing anything. It was 40 yards directly in front of me, but I had to spot it through the bino’s first.

You can have short product description here. It can be added as and enable/disable toggle option from which user can have control on it.
There are many options for quality binoculars, but Vortex sets the standard for quality, price and weight. They are what I use and the above is exactly what I purchased.
A few other points here. There are some days, when it’s just not worth it to try and stalk through the woods. For example: If there are lots of leaves down and it’s dry and crunchy, stealthy travel through the woods just won’t be possible. These are not great days to hunt. I will also avoid days with high wind, from a basic safety standpoint. Days with clear skies and full moon don’t usually pan out as animals can feed all night long and bed down in the daytime. Super rainy days also generally involve bedding animals, but right after the heavy rain can be quite good, with a soft quiet forest and animals moving around more actively.
There’s also certain terrain that just isn’t very easy to move quietly through. Near any drainage with water present will usually involve lots of noisy undergrowth. You will have to cross some of these areas. You may want to just crash through and stalk on the other side, or potentially move even more slowly to limit the noise.
You need to dress to be warm with very little movement. Sometimes, I’ve made the mistake of assuming I will move far more actively than what translates to quiet movement and trying to move slow enough results in me being cold and uncomfortable.
In addition to the stuff discussed in level 1, here’s a few level 2 “staying warm” ideas:
A big part of keeping warm is keeping the dome warm and trapping heat up top. I will wear a beanie like this one underneath a hunting cap (orange if modern firearm season or camo for muzzy/archery season).
Another key place to stay warm is your hands. Imagine getting that perfect shot opportunity, but your hands are too cold to function. Yikes!
One thing to realize is that warm hands and feet start with a warm core, but it does help to have the right stuff on our hands as well. I will wear nitrile gloves for scent control, just like I do salmon fishing, and fingerless gloves over that in most situations.
For weather colder than 20 degrees, I’ve found I’ve also needed these much heavier Sitka Gear gloves to keep my hands functioning when the rest of my body is not moving very much:
Let’s talk about that warm core. Again, there are lots of options, but these are the base-layer top and base-layer bottoms I use.
As long as you have the synthetic layer near your skin, a thermal layer for colder weather and a quiet, gore-tex outer layer, you can put a variety of other layers into the mix to stay warm. I will usually have a cotton hoodie and some other warm synthetics depending on how many layers I’m going for.
The number of layers is a combination of the temperature, wind/rain factor and how much you will be moving.
Sometimes you dress lighter and pack your warmer layers in your backpack, so you can quickly move into position, or scale a ridge with little to no sweat. Once you are in position, you put the extra layers on so you can remain warm while staying very still.
Scent control:
If you’re a salmon fisherman, you know how important scent is. Well, deer and elk can sniff you out as well as any critter. Successful hunters will often go to great length to reduce or eliminate scent.
Another factor we will talk more about in level 3 is dealing with the wind which is an important part of scent control, but for now, let’s focus on prep and gear
If you’ve followed along this far and haven’t skipped any steps, you should be able to eliminate sweat from your stalking technique. Sweat stinks and hurts any chance of remaining undetected and scent controlled.
Here are some scent reduction things you should do to get started:
- Wash all of your hunting apparel, including socks, hats, beanies, gloves, everything in a cold water wash with only baking soda, no detergent. Dry with no dryer sheet or anything that imparts scent.
- Stash everything in a scent free bag – listed below.
- Only use a scent free body wash, deodorant prior to your hunt.
- Spray your outer shell and backpack with a scent killing solution
Here is the scent free bag I use:
I also purchased this 4-pack of Nose Jammer deodorant, body wash/shampoo and scent killing spray.
What benefit is there to accomplishing level 2?
If you complete level 2, you are basically ready to big game hunt all the way up to making an ethical shot and dressing / packing out your kill. You can basically perform much of the pre-hunt scouting requirements at this point and have a reasonable expectation for success during the hunt season when you add a few more skills to the mix.
Level 3 big game hunting for deer or elk
The milestones to complete level 3:
- Complete several days of pre-hunt scouting trips to your target hunting area.
- Reliably hit the shooting accuracy goals appropriate for your hunting weapon of choice
- Be familiar with how to gut and/or gutless field dress your kill
- Complete a day hunt on public land or land you have legal access to during the legal hunting season for your license and tag.
Some tips on scouting
Scouting is all about learning the pattern of behavior and movement of your target species within a given area.
This is primarily done by looking at scat. That’s right, poop, droppings and of course feces.
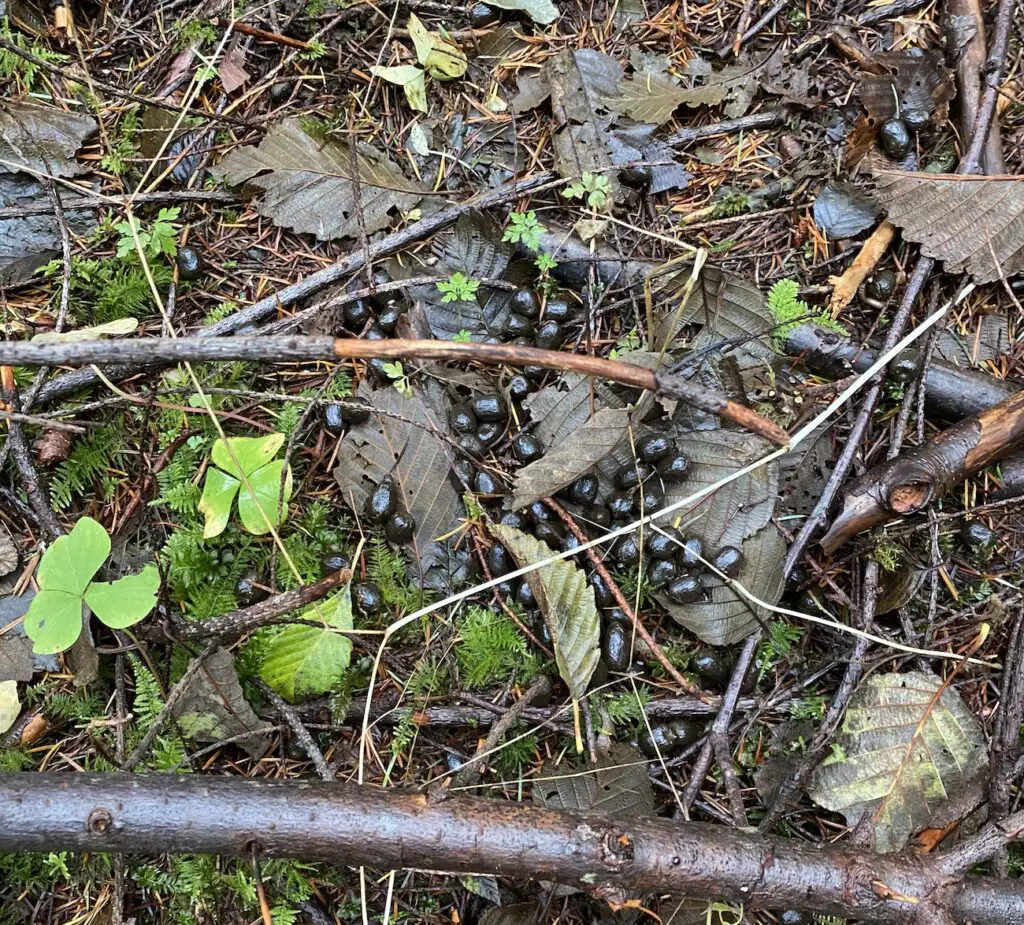
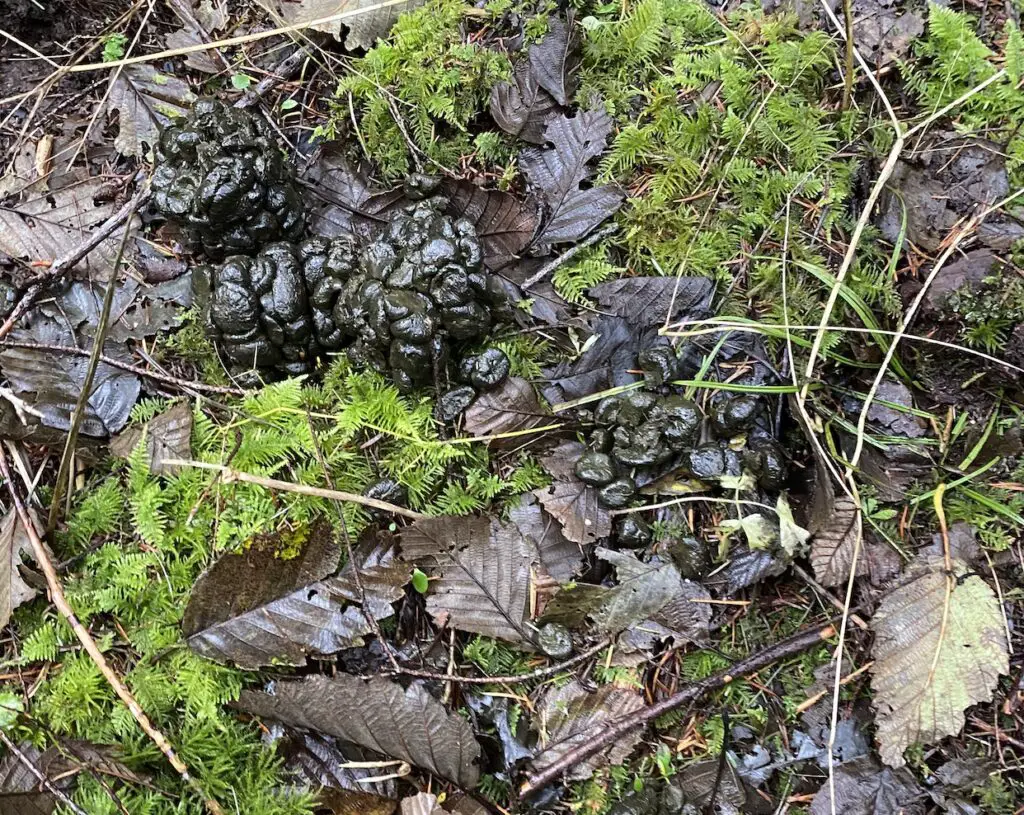
We are also looking for tracks and rubs.
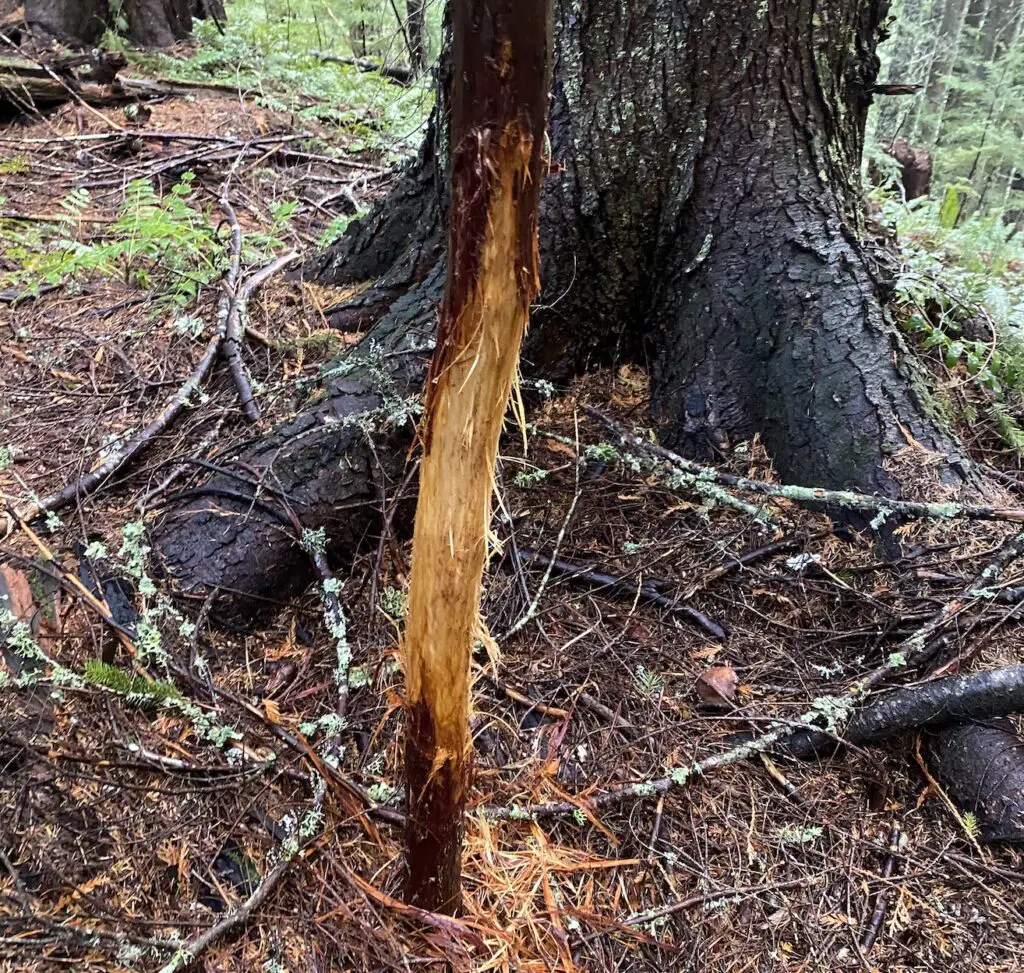
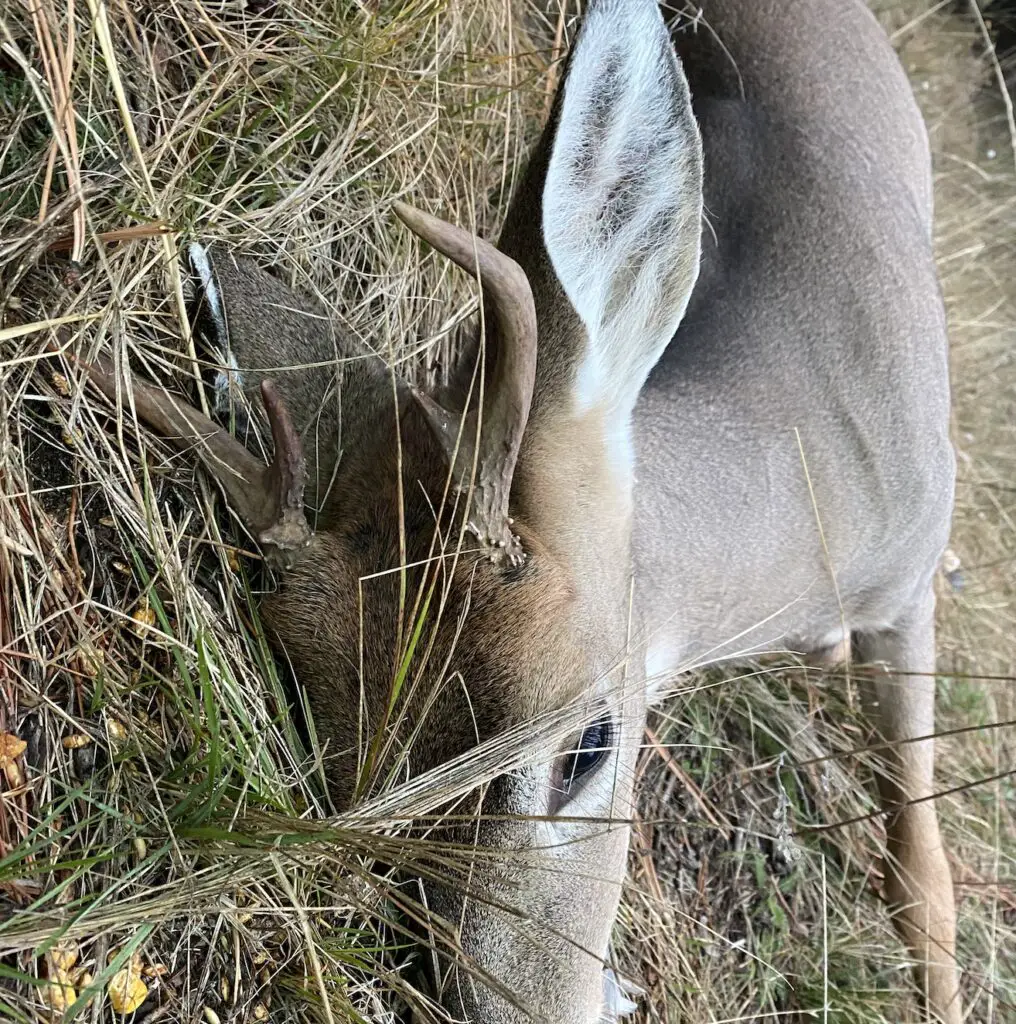
A rub like the above is when a male deer or elk decides to rub the late summer velvet off their antlers. Generally the bigger the tree used for the rub the bigger the animal. The above is probably a buck / deer.
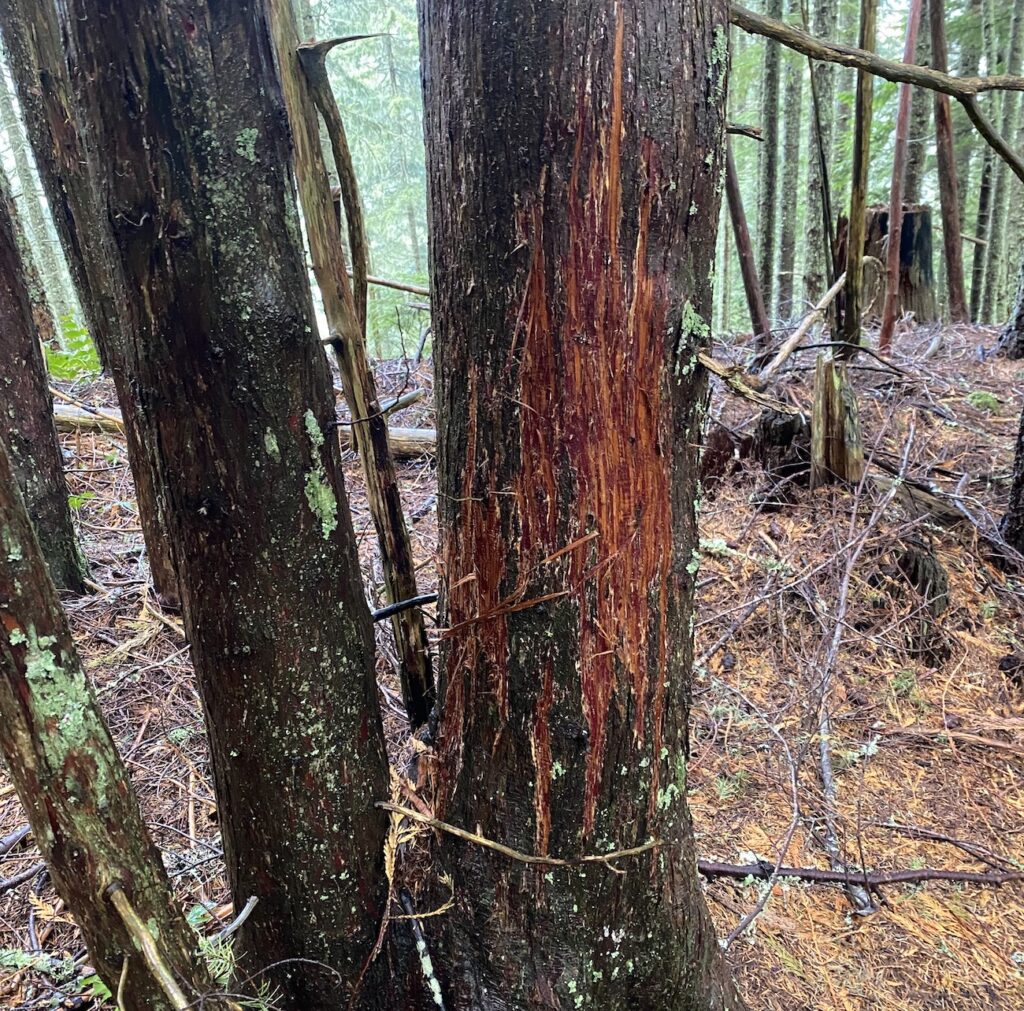
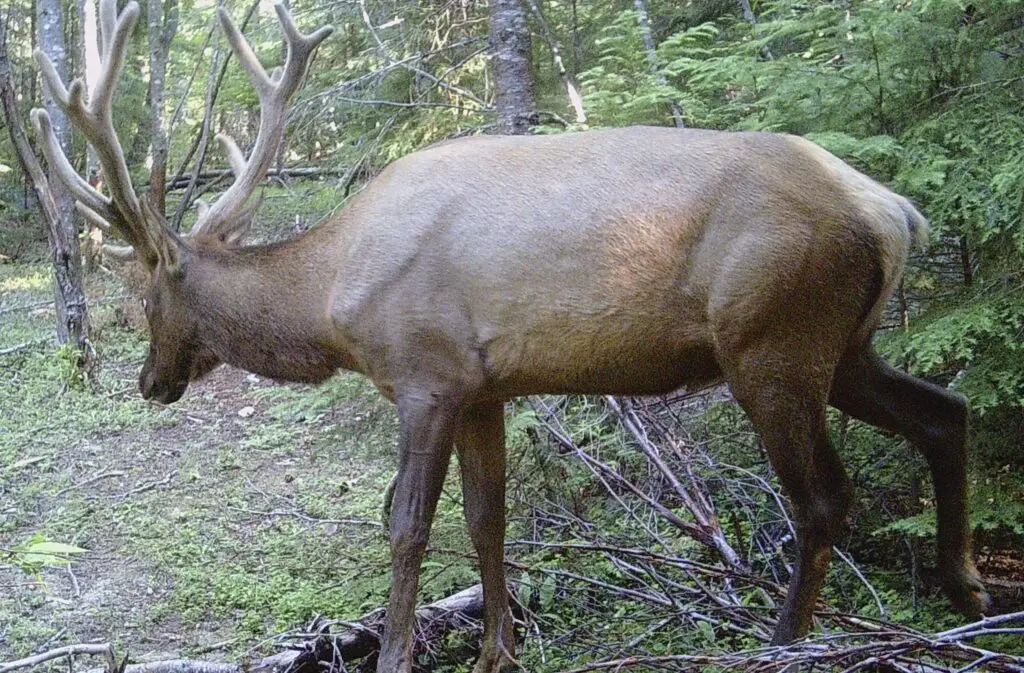
Whereas this one is probably a bull / elk.
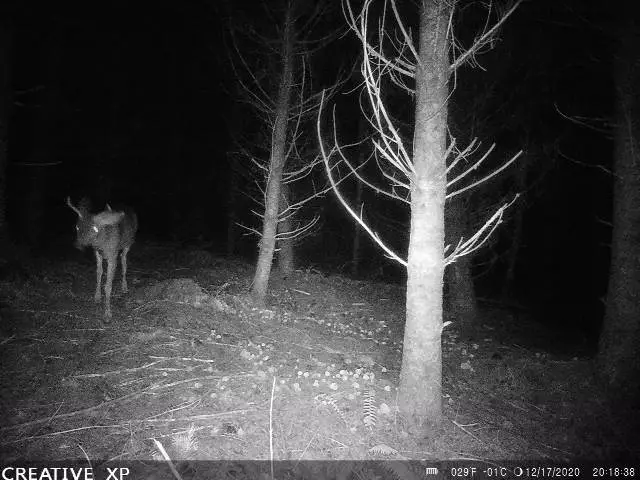
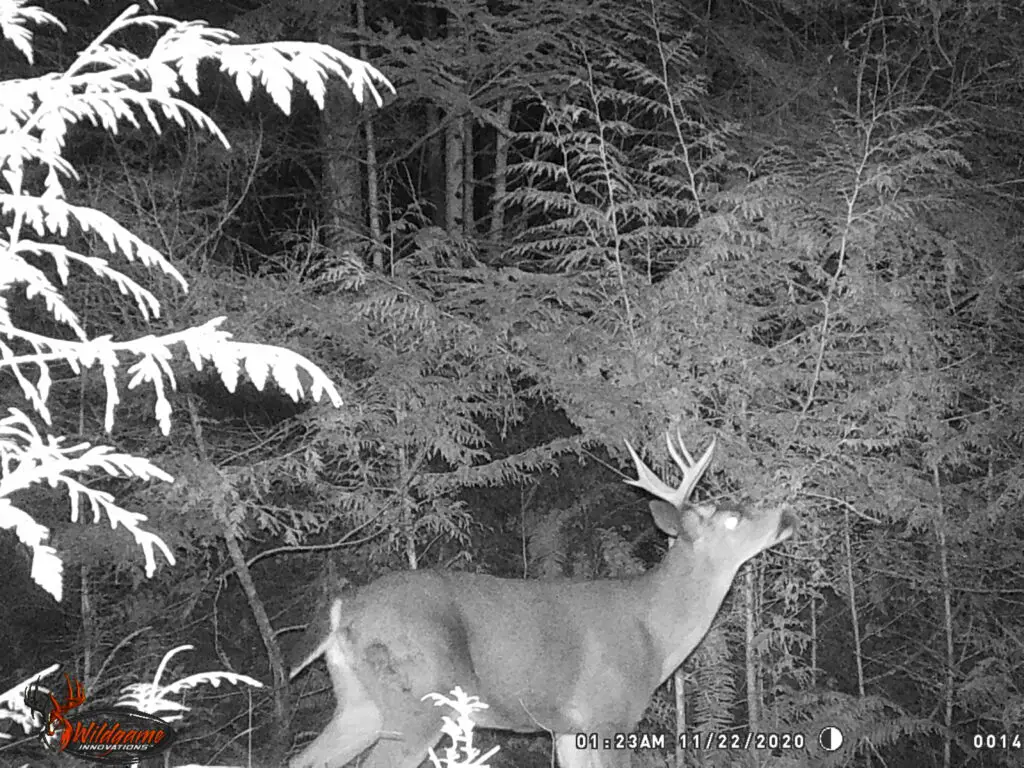
It may be helpful to put up trail cams in a few places to verify animals are moving the way you expect. But there are some very important things to realize about animal movement based on species. I’m far from an expert, and this is not even close to exhaustive, but this is what I know and what I think you should keep in mind when interpreting trail cam pictures.
Black tail deer common to the west side of the cascades in WA and OR do not have repeatable / predictable movement patterns. They may choose one area to move through one day and than not return for several weeks or longer. They don’t bed in the same places either. They don’t feed in one area, they browse along seemingly random routes. Different deer will use the same trails though, so seeing deer on the camera may be interpreted as “you found a trail black tails will sometimes use”, but don’t expect to find the same deer on the same trail the next day.
The black tail mature buck is one of the most challenging of all big game pursuits in North America. It is far easier to shoot does or young dumb bucks.
White-tail deer are less common in the PNW, but present east of the Cascades. White-tail are the most reliable to use trail cams to help figure out their pattern. If feeding conditions remain the same, you can sometimes set your clock to whitetail movements. Trail cams can be quite helpful here, particularly near a food source or bait.
Mule deer are often the premium target deer species of the western states. Trail cams can be helpful, but mule deer have relatively large movement patterns. Their movements are more predictable compared to black tail, but they can move quite a few miles over a week long period, so if you use cams over a long period, you may be able to figure out the pattern.
Elk can cover the most ground, so like mule deer you need to ensure you are figuring out the movement patterns over a longer period of time to truly be helpful.
When it comes to scouting, I’m generally going to do that mid day. I don’t necessarily want to see animals while scouting, because I don’t want to bust anything and modify their movement patterns because of my presence. I want them doing their thing all the way until opening day.
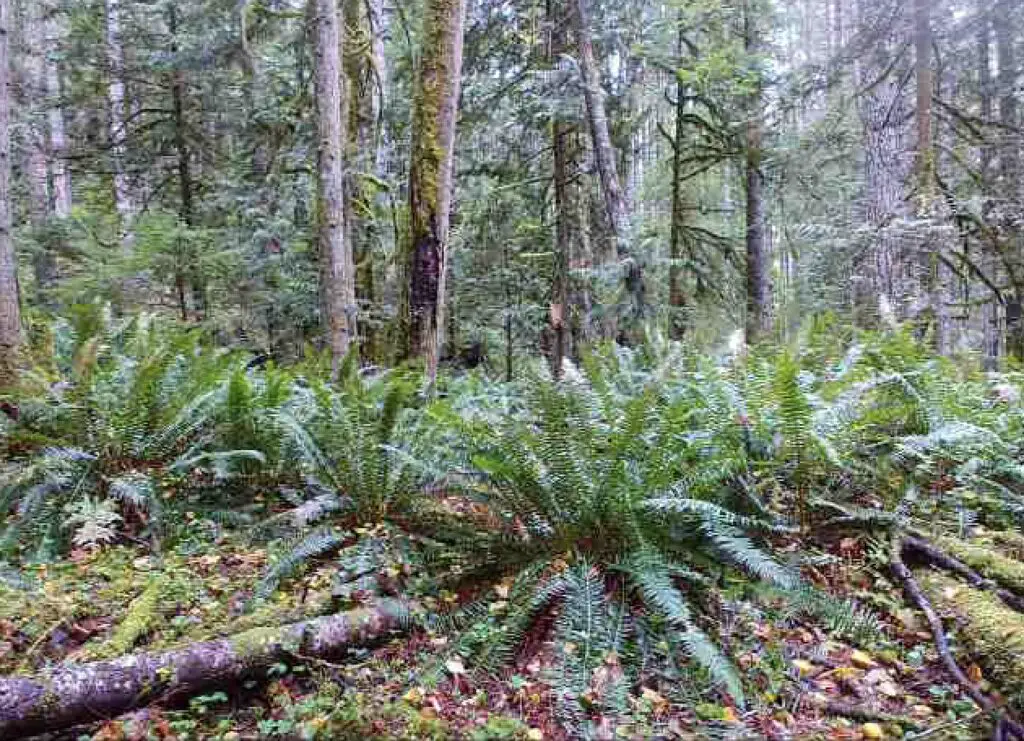
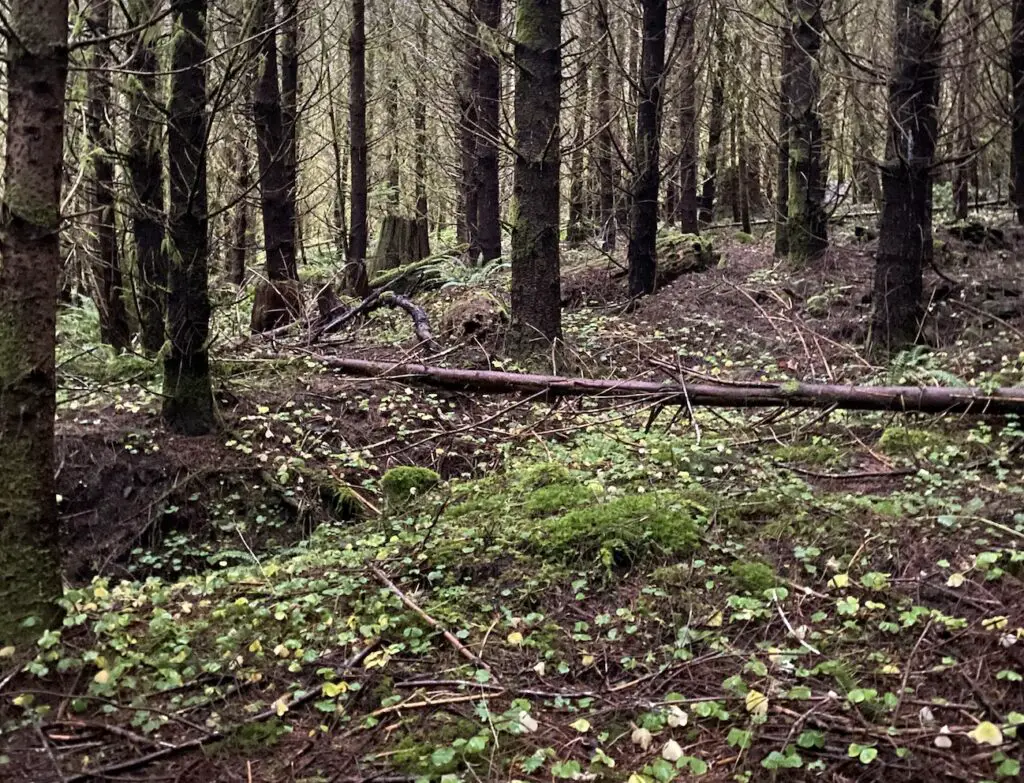
If you are scouting an area with no poop and no tracks, it’s time to move on. You can save yourself time by focusing on areas with older growth forests, clear cuts or other natural clearings where undergrowth and stems can grow.
Dense forest / re-prod is not very easy to explore, but is often used as bedding areas. You aren’t going to shoot an animal in that dense woods. But places where green stems are growing are good places to start.
Green stems in a clear-cut-ish area near dense re-prod and old-growth. Money!
Also, focusing on paths mid-way up a ridge moving across drainages or draws are common traveling lanes for big game animals. Big, open paths or trails are rarely used during the daytime, so you can avoid these. You’re gonna need to get into the dark stuff to find out what’s really going on.
Shooting accuracy
Whatever weapon you’ve chosen, you have an ethical responsibility to be proficient with it. Not only for your own safety, but towards the goal of effectively dispatching an animal with minimal suffering.
I want to be able to repeat a successful shot multiple times in a session at the required distance successfully from the platform I will be using.
For a rifle that may mean shooting off a bench at 100-200 yards and hitting the kill zone with 1-2″ groupings and calling it good a few days before my hunt.
Muzzleloader preparation may involve making several successful shot on shooting sticks or down on one knee at 50 yards a few days or a week before your hunt.
Archery may require you to practice 1-2 days per week for several months leading up to your season.
How can I be proficient with gutting a deer or performing the gutless method when I’ve never done it before?
This one topic seems to be what most folks are intimidated by when it comes to not having an experienced friend or family member with them.
I’ve found several helpful YouTube videos and I watch them multiple times. I make notes on my phone, and I watch it again, and again. I try to visualize each step.
The bottom line is that if you get it mostly correct, that’s good enough and you will learn and get better as you go.
The most important thing is to take this step seriously and prepare as best you can, but you can’t be intimidated by it. You have to make cuts and discover some things through experience.
I will say that the gutless method is the easiest, and if you wanted to just focus on that for your first kill, you would be just fine.
You will also need some game processing tools.
I really like this knife with the replaceable blades system. Razor sharp.
I also use this folding saw for cutting through bone which is sometimes necessary.
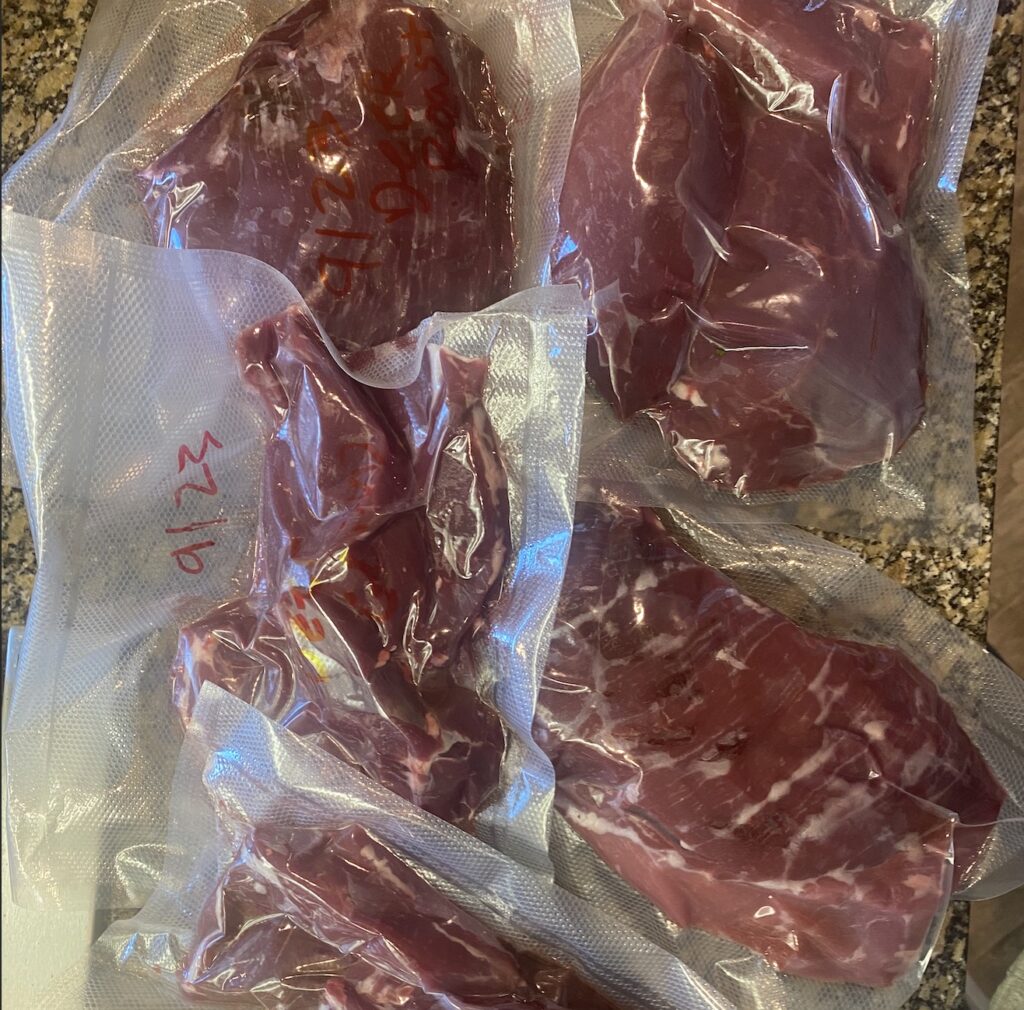
These are the game bags I’ve purchased to put the quarters and other parts. You can probably do a deer with 4 bags, but you may need 6-7 for an elk:
How to decide which method to do? Gut or gutless?
If you can gut an animal and drag it to your rig, or some place you can more easily quarter it, there’s some real advantages to that approach.
However, if it’s a large animal, or the distance and/or terrain is not conducive to taking that animal somewhere helpful intact, you should do the gutless method, quarter the animal and pack it out in pieces.
Big game hunting a day during your season
Everything we’ve covered to this point, along with other ancillary resources you’ve no doubt used for research to get to this point comes into play to have a successful hunting day, but there’s one more thing to consider very carefully and that’s planning out the day.
Planning a hunting day requires familiarity with the terrain you are hunting and in particular things like prevailing wind direction, temperatures, moon phase, weather in the days prior and the day of your hunt.
You want the wind in your face, not on your back. Even with perfect scent control, you want to practice moving into the wind, or setting up a stand with the wind consideration and plan your hunt accordingly.
Wind generally goes downslope in the early pre-dawn hours, but goes upslope as it gets light and begins to warm up.
How early to show up? Will you walk in at shooting light, knowing you could encounter an animal at any point, or will you high tail it to a particular location before shooting light? There are no universal right or wrong answers here, and there’s no replacement for time in the woods to learn how to approach this.
When it comes to hunt planning from a bigger picture perspective, you should generally focus on a large enough area of public land, within a GMU that has the best season opportunity and that’s close to home.
You will learn far more about hunting, driving an hour or less to a hunting location than driving 4-5 hours away to a “hot spot”.
I built this page about deer hunting in Washington State to help you with exactly that kind of research.
Level 4 big game hunting for deer or elk
The milestones to complete level 4:
- Complete a multi-day hunt on public land
COMING SOON